Remote IoT monitoring with Raspberry Pi has become increasingly popular as more businesses and individuals seek cost-effective solutions for managing devices and data remotely. The ability to monitor IoT systems from anywhere provides convenience, efficiency, and peace of mind. Whether you're a hobbyist, entrepreneur, or professional, understanding how to set up a remote IoT monitoring system using Raspberry Pi can significantly enhance your projects.
In this comprehensive guide, we'll explore the ins and outs of remote IoT monitoring with Raspberry Pi, focusing on free tools and methods that make it accessible for everyone. From setting up the hardware to configuring software, we'll cover everything step by step. By the end of this article, you'll have the knowledge and tools needed to create your own remote IoT monitoring system.
Whether you're monitoring environmental conditions, home automation systems, or industrial processes, Raspberry Pi offers a versatile platform that can be customized to meet your specific needs. Let's dive into the details and discover how you can harness the power of IoT with Raspberry Pi.
Introduction to Remote IoT Monitoring
Remote IoT monitoring refers to the process of collecting, analyzing, and acting on data from Internet of Things (IoT) devices without being physically present. This technology enables users to monitor various parameters such as temperature, humidity, motion, and energy consumption in real-time. With the rise of smart homes, smart cities, and industrial automation, remote IoT monitoring has become an essential tool for improving efficiency and reducing costs.
Raspberry Pi plays a crucial role in this ecosystem due to its affordability, flexibility, and ease of use. It serves as a powerful yet compact computer capable of running complex software and interfacing with a wide range of sensors and devices. By leveraging Raspberry Pi, individuals and organizations can build robust remote monitoring systems tailored to their unique requirements.
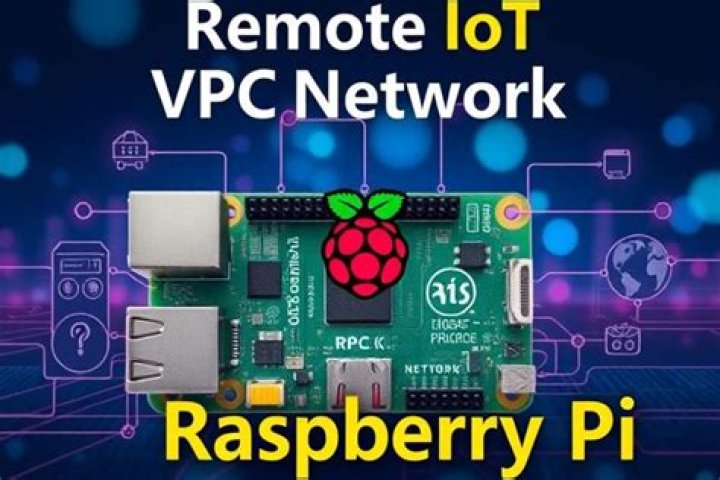
Overview of Raspberry Pi
Raspberry Pi is a series of small single-board computers developed by the Raspberry Pi Foundation. These devices are designed to promote the teaching of basic computer science in schools and developing countries, but they have since gained popularity among hobbyists, makers, and professionals alike.
Key Features of Raspberry Pi
- Compact size and low power consumption
- Support for multiple operating systems, including Raspbian, Ubuntu, and others
- Compatibility with a wide range of sensors, cameras, and peripherals
- Built-in Wi-Fi and Bluetooth capabilities
- GPIO (General Purpose Input/Output) pins for interfacing with hardware
These features make Raspberry Pi an ideal platform for building remote IoT monitoring systems. Its affordability and open-source nature also make it accessible to a broad audience.
Why Choose Raspberry Pi for IoT Monitoring?
There are several reasons why Raspberry Pi is a top choice for remote IoT monitoring:
Cost-Effectiveness
Raspberry Pi is one of the most affordable single-board computers available. Its low price point makes it an attractive option for both small-scale projects and large-scale deployments.
Community Support
Raspberry Pi boasts a vibrant community of developers, educators, and enthusiasts who contribute to its ecosystem. This community provides a wealth of resources, tutorials, and forums to help users overcome challenges and optimize their projects.
Versatility
With its ability to run a variety of operating systems and support numerous hardware configurations, Raspberry Pi can be adapted to suit almost any IoT application. From monitoring weather stations to controlling home automation systems, Raspberry Pi offers endless possibilities.
Hardware Setup for Remote IoT Monitoring
Setting up the hardware for remote IoT monitoring with Raspberry Pi involves several steps:
Required Components
- Raspberry Pi board (e.g., Raspberry Pi 4 or Raspberry Pi Zero)
- MicroSD card with pre-installed operating system (e.g., Raspbian)
- Power supply (USB cable)
- Sensors (e.g., temperature, humidity, motion)
- Wi-Fi dongle (if not built-in)
Connecting Sensors
To connect sensors to your Raspberry Pi, you'll need to use the GPIO pins. Depending on the type of sensor, you may also require additional components such as resistors or amplifiers. Refer to the sensor's datasheet for specific connection instructions.
Software Configuration for Raspberry Pi
Configuring the software for remote IoT monitoring involves installing and configuring the necessary applications and services:
Operating System
Raspbian is the official operating system for Raspberry Pi and is well-suited for IoT applications. It provides a user-friendly interface and a wide range of pre-installed tools for development and monitoring.
Programming Languages
Python is a popular choice for programming Raspberry Pi due to its simplicity and extensive library support. Libraries such as RPi.GPIO and Adafruit CircuitPython make it easy to interact with hardware components.
Free Tools for Remote IoT Monitoring
Several free tools are available to facilitate remote IoT monitoring with Raspberry Pi:
MQTT
MQTT (Message Queuing Telemetry Transport) is a lightweight messaging protocol designed for IoT applications. It enables devices to communicate with each other efficiently over low-bandwidth networks.
Grafana
Grafana is an open-source platform for data visualization and monitoring. It allows users to create interactive dashboards that display real-time data from IoT devices.
Data Collection Techniques
Data collection is a critical component of remote IoT monitoring. Effective data collection involves selecting the right sensors, configuring sampling rates, and ensuring data accuracy.
Data Storage
Data collected from IoT devices can be stored locally on the Raspberry Pi or transmitted to a remote server for analysis. Cloud-based solutions such as AWS IoT and Google Cloud IoT offer scalable storage and processing capabilities.
Setting Up Remote Access
Remote access allows users to monitor IoT devices from anywhere in the world. This can be achieved through several methods:
SSH (Secure Shell)
SSH provides a secure way to access Raspberry Pi remotely. By enabling SSH on your device, you can connect to it using a terminal application on your computer.
Port Forwarding
Port forwarding allows external devices to access your Raspberry Pi through your router. This is useful for applications that require public access, such as web servers or remote monitoring dashboards.
Security Measures for IoT Systems
Security is paramount when it comes to remote IoT monitoring. Implementing strong security measures can protect your system from unauthorized access and potential breaches.
Encryption
Encrypting data transmissions ensures that sensitive information remains secure during transfer. Protocols such as HTTPS and TLS provide robust encryption for web-based applications.
Firewalls
Configuring firewalls on your Raspberry Pi and router can help prevent unauthorized access by blocking unwanted traffic.
Real-World Applications of Remote IoT Monitoring
Remote IoT monitoring has numerous applications across various industries:
Smart Agriculture
Farmers use IoT sensors to monitor soil moisture, temperature, and weather conditions. This data helps optimize irrigation schedules and improve crop yields.
Healthcare
Hospitals and clinics employ IoT devices to monitor patients' vital signs remotely. This enables early detection of potential health issues and reduces the need for in-person visits.
Conclusion and Next Steps
In conclusion, remote IoT monitoring with Raspberry Pi offers a powerful and cost-effective solution for managing devices and data remotely. By following the steps outlined in this guide, you can create your own remote monitoring system tailored to your specific needs.
We encourage you to take action by experimenting with Raspberry Pi and exploring the vast possibilities it offers. Share your experiences and insights in the comments below, and don't forget to check out our other articles for more tips and tutorials. Together, let's harness the power of IoT and shape the future of technology!


