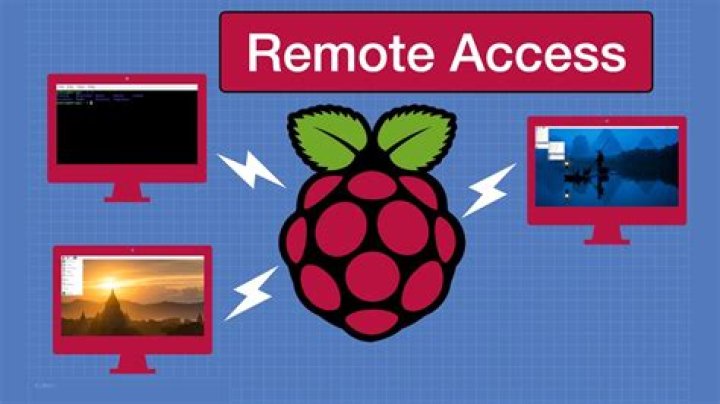
Raspberry Pi remote access over the internet has become an increasingly popular solution for tech enthusiasts, developers, and professionals alike. Whether you're looking to manage your home automation system, run server applications, or simply access your files remotely, this versatile device offers endless possibilities. In this comprehensive guide, we'll delve into the world of Raspberry Pi remote access, exploring its benefits, setup procedures, security considerations, and more.
As remote work and IoT (Internet of Things) continue to shape modern technology, the Raspberry Pi stands out as an affordable and powerful tool for enabling remote access. Its compact size, low power consumption, and open-source compatibility make it an ideal choice for both beginners and experienced users. This article will provide you with step-by-step instructions, tips, and best practices to ensure a seamless experience.
By the end of this guide, you'll have a solid understanding of how to configure your Raspberry Pi for remote access over the internet while maintaining optimal security and performance. Let's dive in!
Introduction to Raspberry Pi Remote Access
What is Raspberry Pi?
The Raspberry Pi is a credit-card-sized single-board computer that has gained immense popularity since its launch in 2012. Designed as an educational tool, it has evolved into a versatile platform used in various projects, from home automation to professional server setups. One of its standout features is the ability to enable remote access over the internet, allowing users to control and interact with the device from anywhere in the world.
Why Use Raspberry Pi for Remote Access?
Raspberry Pi remote access over the internet offers several advantages, including cost-effectiveness, flexibility, and ease of setup. Whether you're a hobbyist experimenting with IoT projects or a professional managing remote servers, the Raspberry Pi provides the necessary tools to achieve your goals. Its compatibility with various operating systems and software makes it a reliable choice for remote access solutions.
Benefits of Raspberry Pi Remote Access
Remote access to your Raspberry Pi over the internet brings numerous benefits, enhancing convenience and productivity. Here are some key advantages:
- Flexibility: Access your Raspberry Pi from any location with an internet connection.
- Cost-Effective: The Raspberry Pi is an affordable solution compared to traditional server hardware.
- Scalability: Easily expand your setup to accommodate multiple devices or users.
- Automation: Automate tasks and manage IoT devices remotely without physical presence.
Setting Up Raspberry Pi for Remote Access
Basic Requirements
Before setting up your Raspberry Pi for remote access, ensure you have the following:
- A Raspberry Pi (any model with network capabilities)
- A microSD card with Raspberry Pi OS installed
- A stable internet connection
- A keyboard, mouse, and monitor (optional, depending on your setup)
Step-by-Step Guide
Follow these steps to configure your Raspberry Pi for remote access:
- Install Raspberry Pi OS on your microSD card.
- Enable SSH during the initial setup by creating an empty file named "ssh" on the boot partition.
- Connect your Raspberry Pi to the internet via Ethernet or Wi-Fi.
- Obtain the local IP address of your Raspberry Pi using the command `hostname -I`.
- Set up port forwarding on your router to allow external access.
Security Considerations for Remote Access
While remote access is convenient, it's crucial to prioritize security to protect your Raspberry Pi from unauthorized access. Here are some best practices:
- Use Strong Passwords: Avoid common or easily guessable passwords.
- Enable Two-Factor Authentication (2FA): Add an extra layer of security to your login process.
- Regularly Update Software: Keep your Raspberry Pi OS and applications up to date to patch vulnerabilities.
- Use a Firewall: Configure a firewall to restrict incoming connections to only necessary ports.
Tools and Software for Remote Access
SSH (Secure Shell)
SSH is one of the most popular methods for remote access due to its security and ease of use. It allows you to connect to your Raspberry Pi's command-line interface from another computer.
VNC (Virtual Network Computing)
VNC provides a graphical interface for remote access, enabling you to interact with your Raspberry Pi as if you were physically present. Popular VNC clients include RealVNC and TightVNC.
Troubleshooting Common Issues
Encountering issues during setup is common, but most problems can be resolved with proper troubleshooting. Here are some common issues and their solutions:
- Connection Refused: Check your router's port forwarding settings and ensure SSH or VNC is enabled on your Raspberry Pi.
- Slow Performance: Optimize your network settings and ensure a stable internet connection.
- Authentication Failed: Verify your credentials and ensure SSH keys are correctly configured.
Connecting Raspberry Pi to the Internet
Establishing a stable internet connection is essential for remote access. Depending on your setup, you can connect your Raspberry Pi via Ethernet or Wi-Fi. For Wi-Fi, ensure your Raspberry Pi OS is configured with the correct network credentials.
Using SSH for Remote Access
SSH is a secure protocol for accessing your Raspberry Pi's terminal remotely. To use SSH:
- Enable SSH on your Raspberry Pi by modifying the `/boot/config.txt` file.
- Use an SSH client like PuTTY (Windows) or the terminal (Linux/Mac) to connect to your Raspberry Pi's IP address.
- Enter your login credentials when prompted.
Using VNC for Remote Access
VNC allows you to access your Raspberry Pi's desktop environment remotely. To set up VNC:
- Install a VNC server on your Raspberry Pi using the command `sudo apt install realvnc-vnc-server`.
- Configure the VNC server to start automatically on boot.
- Connect to your Raspberry Pi using a VNC client on your remote device.
Conclusion and Next Steps
In conclusion, Raspberry Pi remote access over the internet is a powerful tool that enhances convenience and flexibility in managing your projects. By following the steps outlined in this guide, you can successfully configure your Raspberry Pi for remote access while maintaining robust security measures. Remember to regularly update your software and stay informed about the latest security practices.
We encourage you to share your experiences and tips in the comments below. For more in-depth guides and tutorials, explore our other articles on Raspberry Pi and related technologies. Don't forget to bookmark this page for future reference!
Thank you for reading, and happy tinkering!


