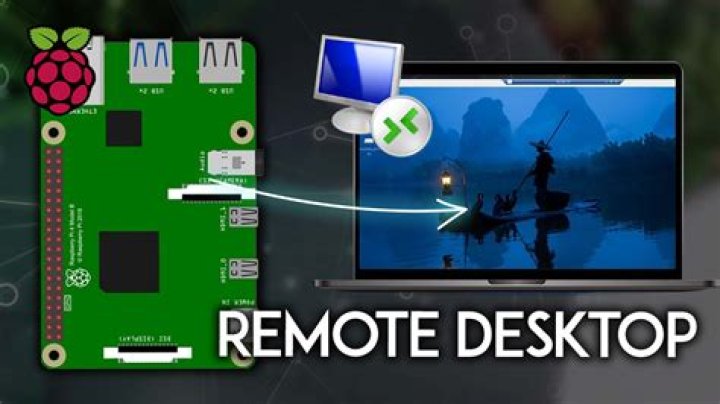
Remote desktop access has become an essential tool for managing devices and streamlining workflows, especially for Raspberry Pi users. Whether you're a hobbyist, developer, or professional, learning how to remotely access Raspberry Pi from Windows 10 can significantly enhance your productivity. This guide will walk you through the process step by step, ensuring you can control your Raspberry Pi remotely with ease.
With the growing demand for remote work and device management, understanding how to remotely access Raspberry Pi remote desktop on Windows 10 is more important than ever. It allows you to manage your Raspberry Pi projects from anywhere, saving time and resources. This article will provide you with detailed instructions, tips, and best practices to set up and troubleshoot your remote connection.
Whether you're setting up a home server, running a media center, or managing IoT devices, remote desktop access is a powerful feature. By the end of this guide, you'll have the knowledge and tools necessary to remotely control your Raspberry Pi from your Windows 10 computer seamlessly.
Introduction to Remote Access
Remote access technology enables users to control one computer or device from another, regardless of physical location. In the context of Raspberry Pi, remote desktop access allows you to interact with your Raspberry Pi's graphical user interface (GUI) directly from a Windows 10 computer. This is particularly useful for managing headless setups, where the Raspberry Pi is running without a monitor or keyboard.
There are several methods to achieve remotely access Raspberry Pi remote desktop on Windows 10, including VNC, SSH, and third-party applications. Each method has its own advantages and limitations, depending on your specific needs and preferences. Understanding these options will help you choose the best approach for your project.
Setting Up Your Raspberry Pi
Updating Your Raspberry Pi
Before setting up remote access, ensure your Raspberry Pi is updated with the latest software. Open the terminal and run the following commands:
sudo apt updatesudo apt upgrade
These commands will update your operating system and installed packages, ensuring compatibility and security.
Enabling VNC and SSH
To enable VNC and SSH, go to the Raspberry Pi Configuration tool:
- Open the terminal and type
sudo raspi-config. - Select "Interfacing Options" and enable both VNC and SSH.
Enabling these services is crucial for remotely accessing Raspberry Pi from Windows 10.
Preparing Your Windows 10 Computer
Installing VNC Viewer
To remotely access Raspberry Pi remote desktop on Windows 10, you'll need a VNC client. Download and install VNC Viewer on your Windows 10 computer. This software allows you to connect to your Raspberry Pi's desktop interface securely.
Configuring Network Settings
Ensure both your Raspberry Pi and Windows 10 computer are connected to the same network. If you're using a router, note the local IP address of your Raspberry Pi. You can find this information by running hostname -I in the Raspberry Pi terminal.
Choosing the Right Remote Tools
VNC vs SSH
Both VNC and SSH are popular methods for remotely accessing Raspberry Pi. VNC provides graphical access, allowing you to interact with the desktop environment, while SSH offers command-line access. Depending on your project requirements, you may choose one or both methods.
Third-Party Tools
There are several third-party applications available for remote access, such as TeamViewer and AnyDesk. These tools offer additional features like file transfer and multi-platform support. However, for most users, VNC and SSH will suffice for remotely accessing Raspberry Pi from Windows 10.
Configuring VNC for Raspberry Pi Remote Desktop
Setting Up VNC Server
To configure VNC on your Raspberry Pi:
- Open the terminal and type
sudo apt install realvnc-vnc-server realvnc-vnc-viewer. - Follow the installation prompts to complete the setup.
Once installed, VNC Server will run automatically on your Raspberry Pi.
Connecting with VNC Viewer
On your Windows 10 computer, open VNC Viewer and enter the IP address of your Raspberry Pi. You'll be prompted to enter your Raspberry Pi's login credentials. After successful authentication, you'll gain access to the Raspberry Pi desktop interface.
Using SSH for Secure Connections
Connecting via SSH
To connect to your Raspberry Pi using SSH:
- Open the Command Prompt on your Windows 10 computer.
- Type
ssh pi@. - Enter your Raspberry Pi's password when prompted.
SSH provides a secure and efficient way to manage your Raspberry Pi remotely, especially for command-line tasks.
Generating SSH Keys
For added security, consider using SSH keys instead of passwords. Generate a key pair on your Windows 10 computer:
- Open the Command Prompt and type
ssh-keygen. - Follow the prompts to create and save your public and private keys.
- Copy the public key to your Raspberry Pi using
ssh-copy-id pi@.
Using SSH keys eliminates the need for passwords, reducing the risk of unauthorized access.
Common Issues and Troubleshooting Tips
Connection Problems
If you're unable to connect to your Raspberry Pi, check the following:
- Ensure both devices are on the same network.
- Verify the IP address of your Raspberry Pi.
- Check that VNC and SSH are enabled on your Raspberry Pi.
If the issue persists, consult the VNC or SSH documentation for further assistance.
Performance Issues
Slow remote connections can be frustrating. To improve performance:
- Reduce the screen resolution on your Raspberry Pi.
- Enable compression in VNC settings.
- Use a wired network connection instead of Wi-Fi.
These adjustments can significantly enhance the speed and responsiveness of your remote connection.
Optimizing Your Remote Connection
Tuning VNC Settings
Customize VNC settings to suit your needs:
- Adjust the color depth for faster performance.
- Enable encryption for secure connections.
- Set a timeout period for idle sessions.
Tailoring these settings can optimize your remote desktop experience.
Automating Connections
To simplify the connection process, create a script on your Windows 10 computer. This script can automatically connect to your Raspberry Pi using VNC or SSH, saving you time and effort.
Enhancing Security for Remote Access
Firewall Configuration
Protect your Raspberry Pi from unauthorized access by configuring a firewall:
- Install
ufwon your Raspberry Pi usingsudo apt install ufw. - Allow VNC and SSH ports with
sudo ufw allow 22andsudo ufw allow 5900. - Enable the firewall with
sudo ufw enable.
A properly configured firewall can safeguard your Raspberry Pi from potential threats.
Regular Updates
Keep your Raspberry Pi and Windows 10 computer up to date with the latest security patches. Regular updates ensure that vulnerabilities are addressed promptly, reducing the risk of attacks.
Conclusion and Next Steps
Remotely accessing Raspberry Pi remote desktop on Windows 10 is a valuable skill for anyone working with Raspberry Pi projects. By following the steps outlined in this guide, you can set up a secure and efficient remote connection, enabling you to manage your Raspberry Pi from anywhere.
To further enhance your skills, consider exploring advanced topics such as automating tasks with scripts, implementing cloud-based solutions, or integrating IoT devices. Don't forget to share your experiences and insights with the community, and feel free to leave a comment or suggestion below. Happy tinkering!
References:


