Raspberry Pi IoT device has become a game-changer in the world of technology, empowering enthusiasts and professionals alike to create innovative solutions for smart homes, industries, and beyond. As the demand for interconnected devices grows, understanding how to build and implement a Raspberry Pi-based IoT system is more important than ever. In this article, we will explore everything you need to know about creating a Raspberry Pi IoT device, from setup to advanced applications.
With its affordable price and impressive capabilities, the Raspberry Pi has emerged as one of the most popular platforms for IoT development. Whether you're a hobbyist looking to automate your home or a professional aiming to build scalable IoT solutions, this guide will provide you with the tools and knowledge to succeed.
Throughout this article, we will cover essential topics such as hardware requirements, software configurations, network connectivity, and security measures. By the end of this guide, you'll have a solid foundation for creating your own Raspberry Pi IoT device and unleashing its full potential.
Introduction to Raspberry Pi IoT Device
What is Raspberry Pi?
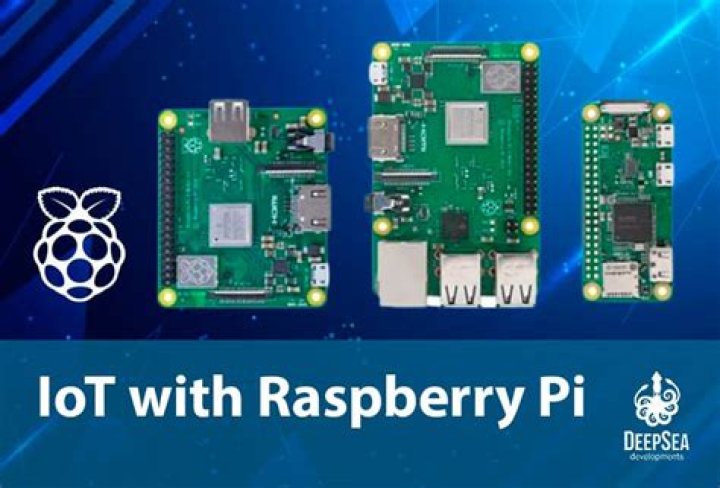
The Raspberry Pi is a small, affordable single-board computer developed by the Raspberry Pi Foundation. Originally designed for educational purposes, it has since become a favorite among hobbyists, developers, and professionals for its versatility and ease of use. At the heart of many Raspberry Pi IoT device projects lies its ability to interface with sensors, actuators, and other hardware components.
Why Use Raspberry Pi for IoT?
Raspberry Pi offers several advantages for IoT applications:
- Cost-effective hardware
- Wide range of GPIO pins for interfacing
- Support for multiple operating systems
- Extensive community support and resources
Basic Components of a Raspberry Pi IoT Device
A typical Raspberry Pi IoT device consists of the following components:
- Raspberry Pi board
- Power supply
- SD card with pre-installed operating system
- Sensors and actuators
- Network connectivity (Wi-Fi or Ethernet)
Hardware Requirements for Raspberry Pi IoT
Choosing the right hardware is crucial for building a successful Raspberry Pi IoT device. Below is a list of essential components:
- Raspberry Pi 4 Model B (or newer)
- MicroSD card (minimum 16GB, Class 10 recommended)
- Power adapter with sufficient current output
- Case for Raspberry Pi (optional but recommended)
Additional Hardware for Specific Applications
Depending on your project, you may need additional hardware such as:
- Sensors (temperature, humidity, motion, etc.)
- Actuators (motors, relays, etc.)
- Display module
- Battery backup
Software Setup for Raspberry Pi IoT
Setting up the software environment is a critical step in creating a Raspberry Pi IoT device. Start by installing an appropriate operating system, such as Raspberry Pi OS or Ubuntu Core. Once the OS is installed, configure network settings and install necessary libraries for your project.
Popular Operating Systems for Raspberry Pi IoT
- Raspberry Pi OS Lite
- Ubuntu Core
- balenaOS
Installing Required Libraries
Depending on your project, you may need to install libraries for interfacing with sensors or communicating over protocols like MQTT. Use package managers like apt or pip to simplify the installation process.
Network Connectivity Options
Network connectivity is essential for any Raspberry Pi IoT device. Common options include:
- Wi-Fi
- Ethernet
- Bluetooth
- LoRa
Configuring Wi-Fi on Raspberry Pi
To configure Wi-Fi, edit the wpa_supplicant.conf file and restart the networking service. Ensure that your Raspberry Pi is connected to a stable network to avoid connectivity issues.
Applications of Raspberry Pi IoT Devices
Raspberry Pi IoT devices have numerous applications across various industries:
- Smart home automation
- Environmental monitoring
- Industrial automation
- Agricultural solutions
Real-World Examples
Some real-world examples of Raspberry Pi IoT devices include:
- Smart thermostats
- Water quality monitoring systems
- Factory automation systems
Securing Your Raspberry Pi IoT Device
Security is a critical consideration when building IoT devices. Implementing strong security measures can protect your device from unauthorized access and potential breaches.
Best Practices for Securing Raspberry Pi IoT Devices
- Change default passwords
- Enable a firewall
- Update software regularly
- Use secure communication protocols
Popular Raspberry Pi IoT Projects
Here are some popular Raspberry Pi IoT projects that you can try:
- Smart irrigation system
- Home security camera
- Weather station
Step-by-Step Guide for a Simple IoT Project
Follow these steps to create a simple IoT project using Raspberry Pi:
- Set up the hardware
- Install the operating system
- Write and deploy the code
- Test and refine the project
Troubleshooting Common Issues
Encountering issues during your Raspberry Pi IoT project is common. Here are some tips for troubleshooting:
- Check power supply
- Verify network connectivity
- Review code for errors
Seeking Help from the Community
Joining online forums and communities can be helpful when troubleshooting. Platforms like Reddit, Stack Overflow, and the Raspberry Pi official forum are excellent resources.
Optimizing Performance for Raspberry Pi IoT
Optimizing your Raspberry Pi IoT device can improve its performance and reliability. Consider the following tips:
- Use lightweight software
- Disable unnecessary services
- Regularly monitor system performance
Advanced Optimization Techniques
For more advanced users, techniques such as overclocking and swapping to external storage can further enhance performance. However, proceed with caution to avoid damaging your device.
Conclusion and Next Steps
In conclusion, building a Raspberry Pi IoT device offers endless possibilities for innovation and creativity. By understanding the basics of hardware, software, and security, you can create powerful solutions tailored to your needs. We encourage you to share your experiences and projects in the comments below. Additionally, explore other articles on our site for more in-depth guides and tutorials.
Take the first step today and start building your Raspberry Pi IoT device. The future of interconnected technology awaits!


